CANORA - “Every colour has a meaning, every line has a meaning.”
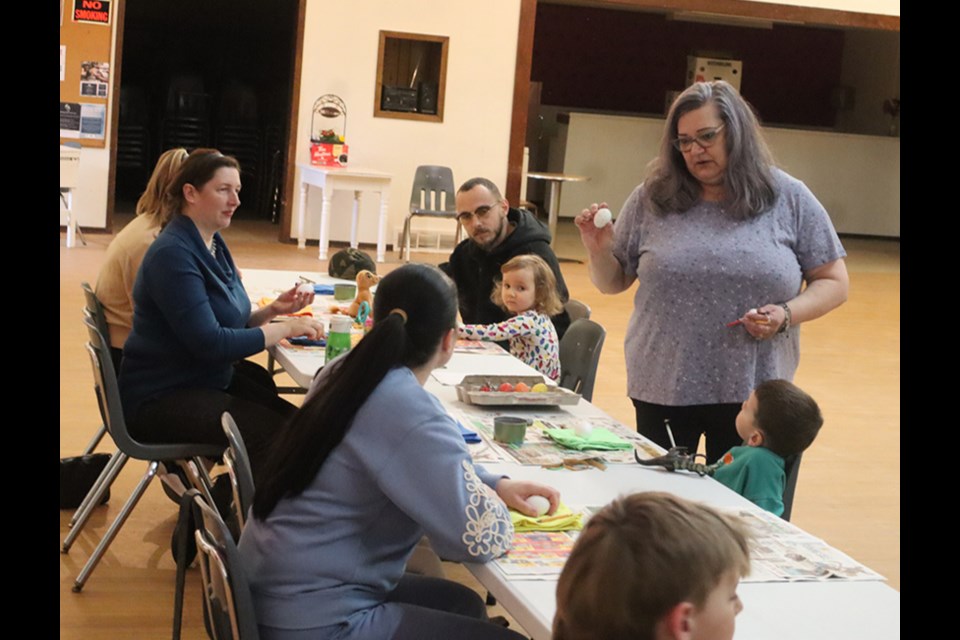
Led by Sheila Dmitruik, the tradition of decorating Ukrainian Easter Eggs, also known as Pysanka, continued in Canora with a workshop held at Rainbow Hall on April 13.
“It’s important to keep the interest going, and show everyone how it’s done.”
The word ‘Pysanka’ actually means ‘to write,’ and Dmitruik said the decorating is done by writing, not drawing.
“Wax flows through the kistka, or stylus, allowing the participant to write on the egg.”
Dmitruik explained the general steps involved in creating Ukrainian Easter egg designs:
1). Place the egg on tissues and lightly draw the basic divisions with a pencil dividing the egg into 16 equal parts, eight sections on each side. Division lines can be easily drawn by placing a rubber band or quarter-inch masking tape around the egg and penciling along the side of it. Pencil lines will not show on the completed egg. Never erase pencil marks or the dye will not 'take' to the shell.
2). You are now ready to use the kistka and wax. Heat the tip of a medium size kistka in the flame, scoop a little beeswax into the funnel and heat again to get the wax flowing. Draw over the pencil lines, keeping the kistka at right angles to the egg. Rotate the egg towards yourself while working the kistka away from yourself. When the kistka stops writing, reheat it, add wax and continue writing. Cover all the pencil lines on both sides of the egg.
3). With a pencil, divide each section one more time. These lines help to insure a more balanced design. With a kistka draw a small circle in the centre of the egg and using the pencil lines as a guide, draw the design on your egg. The wax lines that you have made will be white on the finished pysanka as the wax seals the colour under it. Dip the egg in a vinegar solution in the proportion of one part vinegar to four parts water. This counteracts any perspiration oils that may get on the egg and also gives the shell a rougher surface enabling the dyes to ‘take’ properly.
4). Place the egg on a tablespoon and ease it into the dye. When dying, it is usually best to start with the lightest colour and work toward the darkest. The darker dyes cover all previous colours except where the previous colour has been protected by a coat of wax.
As mentioned earlier, all writing on the Ukrainian Easter Egg is filled with symbolism.
For instance, a star symbolizes God’s love toward man. A triangle symbolizes the Trinity; Father, Son and Holy Ghost. Waves and ribbons circling an egg symbolize eternity, without beginning or end.
Dmitruik said she was introduced to Pysanka around Grade 4, and has continued ever since, even when she lived in B.C. “It’s part of my heritage, and there are always different designs to try, which keeps it interesting."
In addition to carrying on this time-honoured Ukrainian tradition, Dmitruik said she also finds it relaxing. “But you need to have a steady hand, and plenty of patience.”
She said completing the design on an egg can take anywhere from three or four hours for a two-colour egg, up to over 30 hours on a large multi-coloured ostrich egg.
Don't count on social media to deliver your local news to you. Keep your news a touch away by bookmarking Canora Courier's homepage at this link.
Bookmark SASKTODAY.ca, Saskatchewan's home page, at this link.


